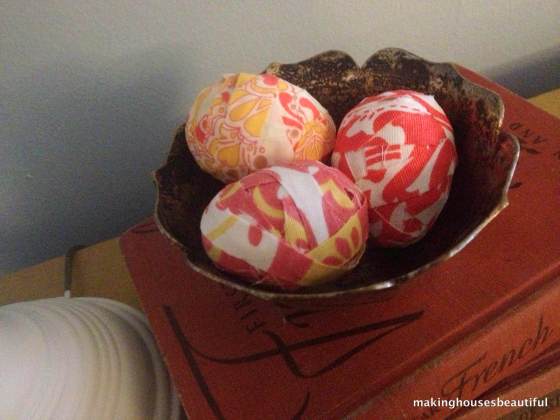
Easter decorating is a conundrum for me. On one hand, Easter is my most favorite holiday of all time. I love it. So of course I want to celebrate it to its fullest. But on the other hand, just because I love Easter doesn’t mean I love bunnies. Or grass all over my house. Or pastels. Also, one of the things I love about Easter is that it comes after a period of mourning. The darkest night is pierced by the brightest morning. Part of me doesn’t want to decorate at all before Sunday because it takes away from this dichotomy. But if I just decorate on Easter, then I only have one day to enjoy it, and I don’t want to spend money on things I will only enjoy for one day.
So last year I came up with a goal – cheap, beautiful, subtle Easter decorations.
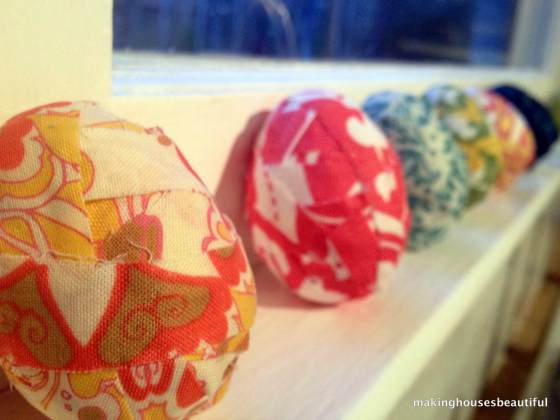
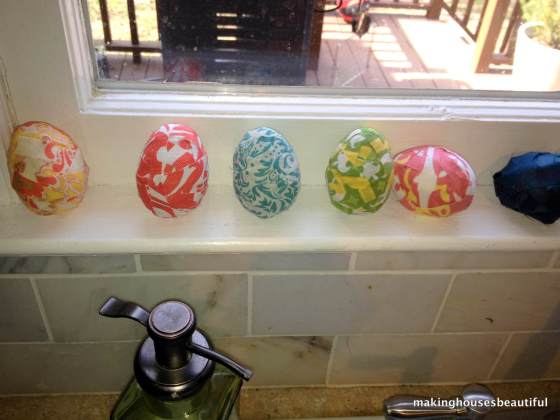
And here’s the result:
I always have extra fabric lying around the house. Usually it was a purchase because I envisioned making a pillow or doing a project with it. And most of those times, the pillows and projects never come into existence. But I love all of the fabric I have. We also have a ton of plastic easter eggs in the pantry. Phil is a fan of buying things at 75% off the day after a holiday, and last year he bought more easter eggs than we can afford to fill with candy. I’m sure each bag was 25 cents or so. I also have some extra decoupage glue (Martha Stewart brand) although I’m sure Mod Podge would work about the same.
So that’s all you need! It’s cheap ( your husband will like it), messy (your kids will like it) and beautiful (you will like it).
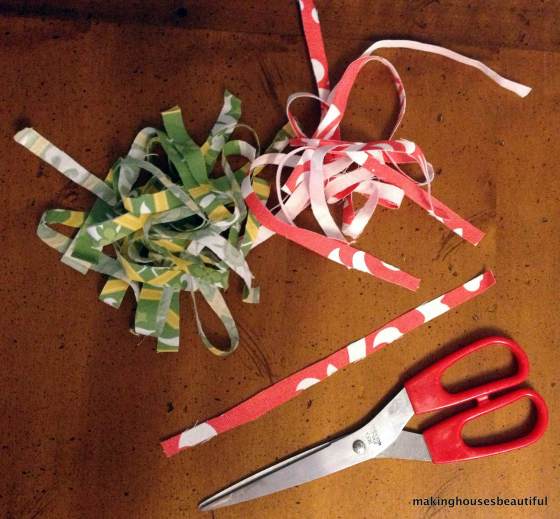
Step 1: Cut the fabric into strips. I found that the best size was thinner than 1/2″, maybe about 1/3″, by 8″ to 12″ long. You can used varied lengths. I used the longest ones first and by the end you can use shorter ones to cover up the spots that were missed.
Step 2: Apply glue directly to the back of the fabric. That way the whole strip has good coverage. I tried to put glue right on the egg as well but that was just a hot mess.
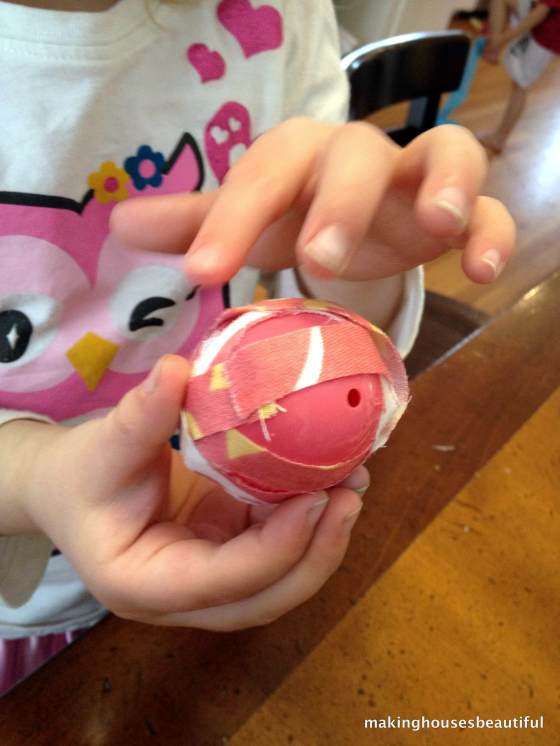
Step 3: Wrap the piece around the eggs as flat as you can. Since the egg is round, there will be some bumps, but most of those come out when you cover it at the end. Continue with pieces until the egg is covered.
Step 4: Cover the whole egg in glue to seal it while the strips are still wet. That way they don’t dry with bumps. The final layer really smooths down the whole thing. I just put mine on the window sill and it worked fine.
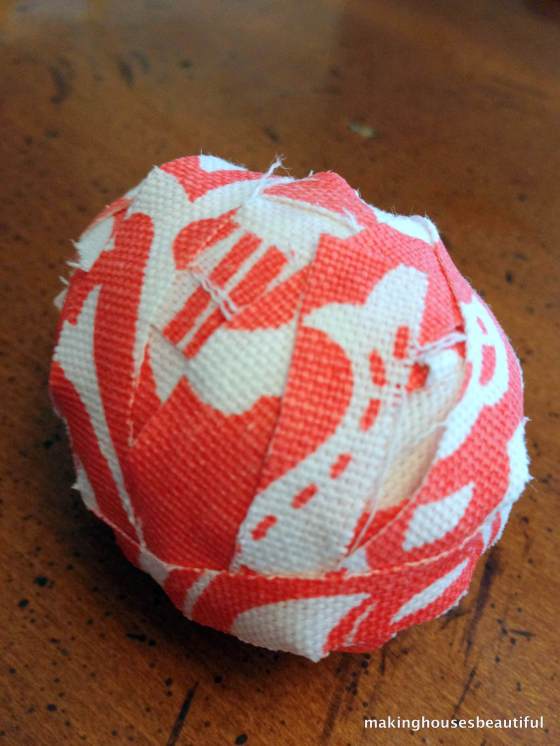
An egg before the final coat. A little bit lumpy, but my favorite fabric right now and a sneak peek at what my dining chairs will look like!
That’s it! They are so beautiful, and subtle, but add color. One of the great things about this craft is that leftover fabric generally goes with your house anyways! It was a pillow, or a chair covering, or curtains. So your eggs will automatically match with your decor. If you haven’t decorated for Easter, I hope this inspires you to put a little color out this weekend to remind you of the hope that comes after this Lenten season.
Here are some things I found out:
– With thinner fabric, make sure you start with an egg that is close to the same color in case the fabric becomes translucent when it gets wet.
– The fabric that worked the best was the thinner, quilting fabric. This usually comes on the small bolts at the fabric store and there is a multitude to choose from.
– Thicker, home decor fabric also works well, but I had to cut the strips a little thinner to make sure they were pliable enough. The thicker the fabric, the thinner the strips should be (1/2 or less). That way it will lie down flat against the egg. Thinner fabrics can handle thicker strips because it is more pliable and can be smashed down, but I like using thinner strips either way.
– Each egg took about ten strips
– It’s best to use as few layers as possible, so use your fabric well. Try to cover as much space with each strip. After too much fabric, the eggs start to look lumpy and lose the integrity of their shape.
– Sadly, silky, satiny fabrics did not work well at all. They slid around on each other once the glue was on. So even though some of my favorite fabric is satin, it was a fail. It just looks like a lumpy egg imposter.
HAPPY EASTER!


